Step 1
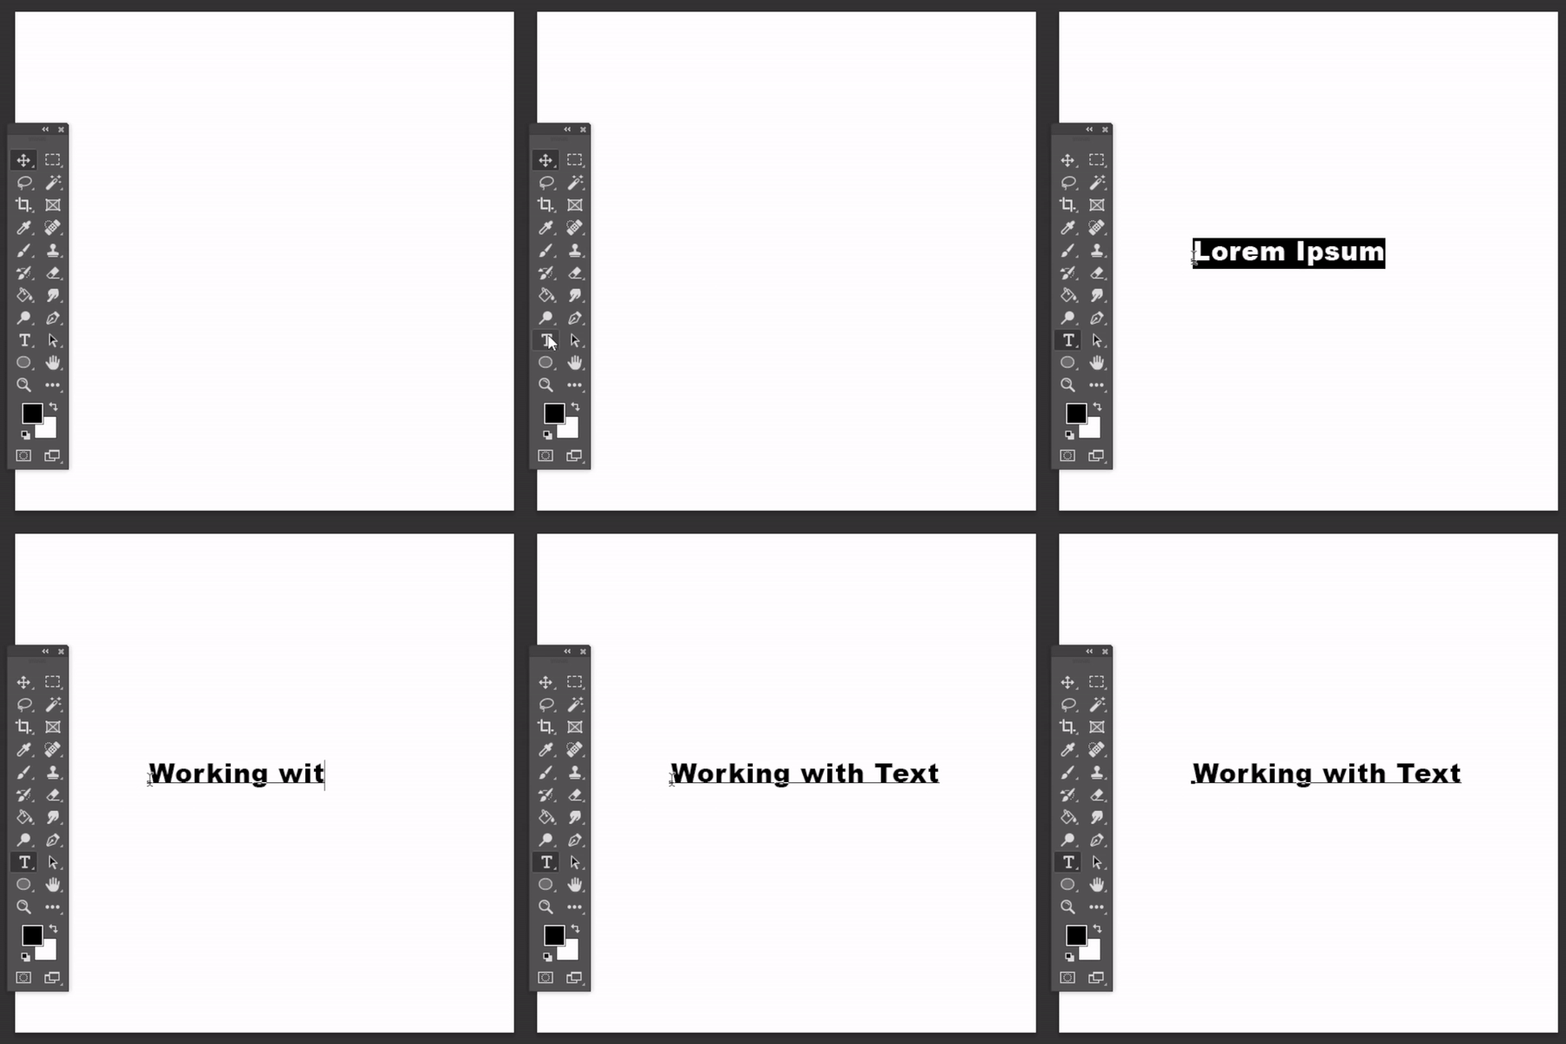
1. In the toolbar, select the Text tool by clicking the "T". Your cursor
will change into a text-box symbol.
2. Click anywhere on your canvas and
type the words "Working with Text".
See how you can style your images with cool text effects.

1. In the toolbar, select the Text tool by clicking the "T". Your cursor
will change into a text-box symbol.
2. Click anywhere on your canvas and
type the words "Working with Text".

When using text and text-boxes, it's important to always have your Paragraph and Character windows open. If you do not see them. Go to Window, and then find and click both those options.

In the Character window, you can adjust the font, size, and letterspacing of your text. You can also adjust the color, height, and width of your characters, and so much more. Try out these different settings on your own! For right now, let's select "Arial" as our font, set the size to "100 pt", and the color as red.

1. Next, go to the fifth option on the top of the screen that says "Text" and then
click "Warp Text".
2. Here, you can add unique styles to your text like an arc
or a Flag effect. For this example, let's click on Arc.
3. You can adjust the bend of
your arc, as well as its horizontal and vertical distortion. Play around with the
sliders until you get something you like.
4. Then click "OK".

1. Finally, navigate to the bottom of your Layers panel and click the "fx"
option that we used in the previous tutorial.
2. Click on "Stroke" this time.
In this window, you'll be able to edit the size and color of the stroke
around your text.
3. Where it say "Size", choose "5px". Set the position as
"Center" and the color as black. You'll notice a neat stroke around all
your characters!