Marquee Selections
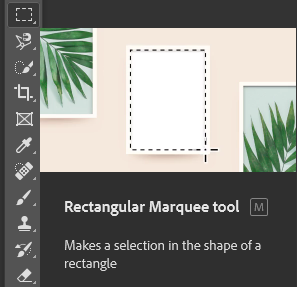
Marquee selection tools allow you to create a selection on an image that's in the shape of a rectangle or a circle. This can be useful for selecting things with straight or round edges.
Discover how you can select parts of an image to edit it separately.

Marquee selection tools allow you to create a selection on an image that's in the shape of a rectangle or a circle. This can be useful for selecting things with straight or round edges.

The Lasso tools are a little bit more complicated than the marquees and require you to move your mouse around whatever it is you are trying to select. The normal Lasso tool works like a brush that you have to manually drag. The Polygonal Lasso creates selections by creating straight lines. And the Magnetic Lasso makes selections by snapping to the edges of an object as you move around it.

The Quick Selection tool works by finding and following the edges of an image as you draw around it like a brush. The Magic Wand tool lets you select a specific color in an image. Both tools can be really useful for efficiently selecting areas of images that are separated by colors or distinct edges. We'll be using the Magic Wand tool later!

The Object Selection Tool is a newer tool in Photoshop that finds and automatically selects an object in a defined region. Similar to the Rectangular Marquee tool, it requires you to drag a rectangular selection around an object, but Photoshop will do the work for you by finding the object's edges and making it into a selection.

1. First, right click on the image of the Chameleon shown above and then click "Save Image As" to save
it on your computer.
2. Go to your downloads folder, and drag the image into
your Photoshop document.

Right click on the layer titled "Chameleon" and click "Rasterize Layer". This will allow you to make more edits to the image.

1. Next, select your Magic Wand tool and click on the orange background of the image.
2. You will see a selection around the Chameleon. Once you see this, hit the delete button
on your keyboard to erase the background of the image.

1. Click on your Background layer in your Layers panel and click the + icon to create
a new layer.
2. Next, select the paint bucket tool from the toolbar and select the color
blue.
3. With "Layer 1" selected, click anywhere on the canvas to add your blue paint. You will
notice that we were able to successfully change the background of the image.